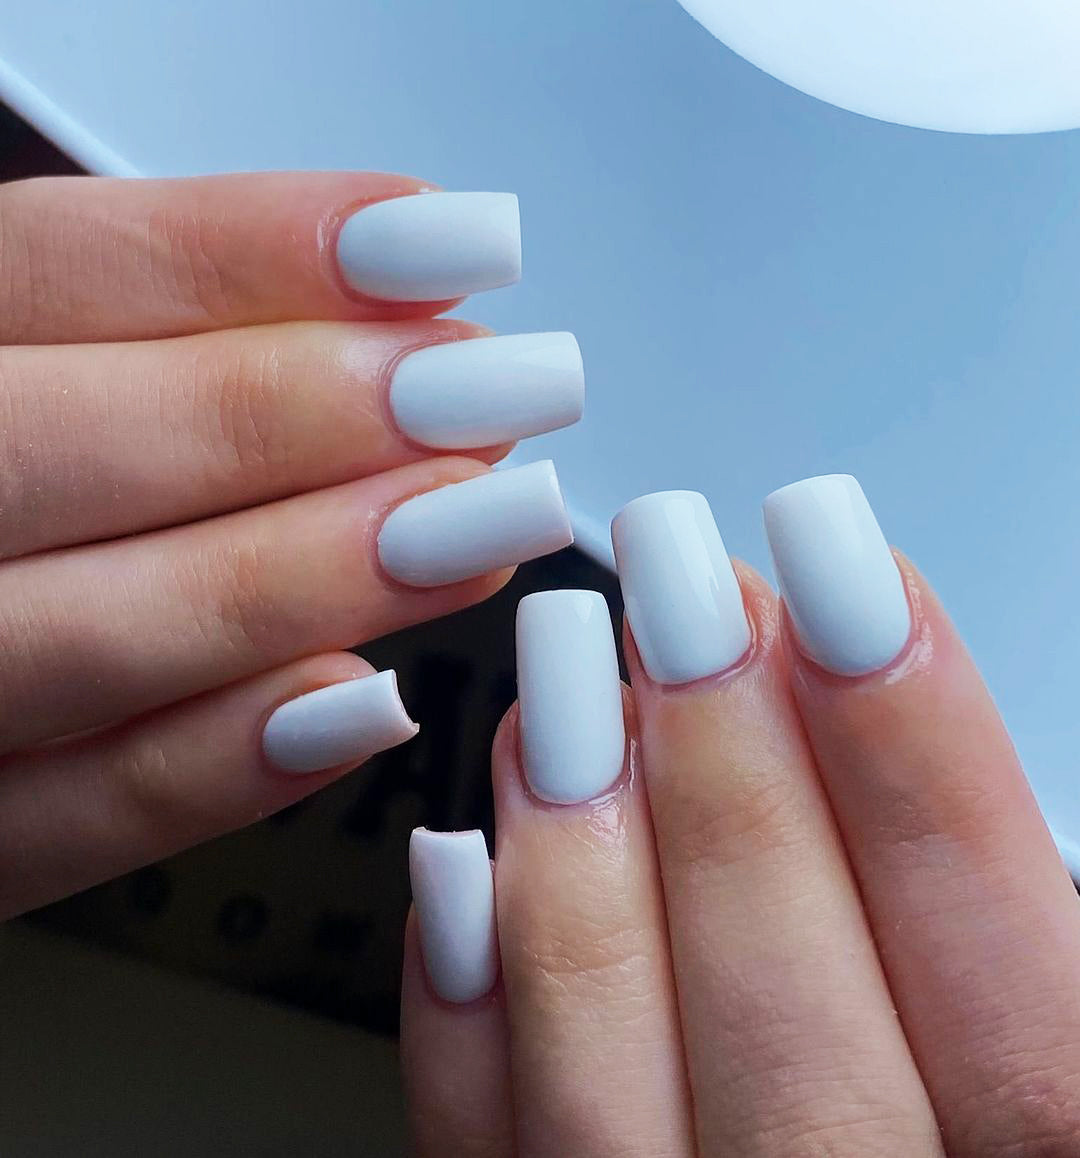
ProBuild is changing the game for HEMA Free Builder Gel, offering unparalleled strength and flexibility with a flawless finish. As the innovators behind ProBuild, GLOSSON is excited to provide a comprehensive guide on how to expertly apply our builder gel to natural nails. Whether you're a beginner or just need a refresher, this guide will help you achieve salon-quality results with ease.
WHY CHOOSE BUILDER GEL FOR NATURAL NAILS?
ProBuild is more than just a product—it’s a long-lasting solution designed to strengthen and protect natural nails while enhancing their appearance with vibrant colour. Its advanced formula acts as a protective layer, reducing breakage and boosting nail health. Plus, it delivers a durable, glossy finish that clients love for its beauty and resilience. Did we mention its also HEMA Free!
ProBuild offers 6 current shades and a clear option to meet every client's preferences and needs.
ESSENTIAL TOOLS FOR APPLYING ProBuild
Before you begin, gather the following tools and products to ensure a smooth application:
- Hand Towel: For a clean workspace.
- Lint-Free Wipes: To maintain nail cleanliness.
- 100/180 Nail File: For shaping and smoothing the edges and surface.
- Nail Buffer: For prepping the nail surface.
- 120/180 Nail File: To refine the product after application.
- Cuticle Nipper: For precise cuticle trimming.
- Cuticle Pusher: To push back cuticles gently.
- ProPrime: To prime the natural nails and remove any oils.
- Super Bonder: For applying a base layer to the builder.
- ProBuild: Choose from our 6 beautiful shades.
- Top Coat: We offer a base and top & a No Wipe Top Coat
- UV/LED Lamp: For curing each gel layer.
HOW TO APPLY ProBuild IN 8 Easy STEPS
Follow these simple steps to achieve a smooth, professional finish:
-
PREP THE NAILS Begin by prepping the natural nails. Cleanse the surface, push back the cuticles, and buff the nail gently with a 100/180 file followed by a buff block to ensure the gel adheres properly. Then start to shape the nails to the clients desired look.
- APPLY ProPrime Apply a thin, even layer of Primer to remove any oils from the nails surface.
- APPLY SUPER BONDER OR VITAMIN BONDER Apply a thin even layer and cure for 60 seconds.
- APPLY PROBUILD apply a thin even layer ProBuild gel to the nail, taking care to avoid creating bulk. Cure under your nail lamp for 99 seconds on Low Heat Mode.
- SECOND LAYER FOR STRUCTURE Add a second layer of ProBuild, ensuring to build an apex for added strength. Cure under the lamp for another 99 seconds on Low Heat Mode.
- OPTIONAL: APPLY A THIRD LAYER If additional strength or thickness is desired, apply a third layer of builder gel. Cure again to set the product.
- REFINE THE SHAPE (IF NEEDED) After curing, use your file or buffer to gently refine the shape of the nail. This step ensures a smooth and even surface, setting the stage for a flawless top coat.
- FINISH WITH A TOP COAT Apply a top coat of your choice to seal in the ProBuild and provide a durable, protective layer. Cure the top coat for 90 seconds.
CAN YOU ADD GEL POLISH OVER BUILDER GEL?
Yes! If you'd like to add extra colour or nail art, simply apply our HEMA Free gel polish over the cured ProBuild layers and finish with a top coat for long-lasting wear.
DISCOVER THE ProBuild RANGE
Browse our extensive selection of ProBuild gels, available in Original, All-In-One, HEMA-Free and mini sizes. Ready to enhance your skills? Enroll in our ProBuild Natural Nails Course at GLOSSON Academy for expert training.
Stay inspired by following us on Instagram and TikTok, and find your favourite ProBuild shade today!


