

Whether you're a newly qualified nail technician stocking your first kit or an experienced professional looking to upgrade your product range, choosing the right professional nail products is one of the most important decisions you'll make for your business.
The products you use directly impact your work quality, your efficiency, your clients' nail health, and ultimately your reputation. Cheap or poorly formulated products lead to lifting, chipping, allergic reactions, and unhappy clients. Quality professional products deliver consistent results, longer wear, and keep clients coming back.
This comprehensive guide covers everything you need to know about professional nail products, with a focus on the two products every nail tech needs to master: gel polish and builder gel.
- The real differences between professional and retail nail products
- When to use gel polish vs builder gel (and how to combine them)
- Why HEMA-free and TPO-free formulations matter for your business
- Exactly which products to stock and how many of each
- Application tips that improve wear time and client satisfaction
What Makes Nail Products "Professional Grade"?
Walk into any beauty retailer and you'll find gel polish kits marketed to consumers. So what's the difference between these retail products and genuine professional nail products designed for trained technicians?
The differences are significant—and they directly impact your results, your efficiency, and your bottom line.
Professional vs Retail: The Key Differences
| Factor | Professional Products | Retail Products |
|---|---|---|
| Pigment Concentration | High—full coverage in 2 coats | Lower—may need 3-4 coats |
| Wear Time | 3-4 weeks without chipping | 1-2 weeks typical |
| Adhesion | Superior bond to nail plate | Weaker adhesion, prone to lifting |
| Curing | Optimised photoinitiators for complete cure | May under-cure, causing sensitivity |
| Consistency | Self-levelling, easy to work with | Often too thick or too runny |
| Colour Range | Extensive professional palettes | Limited "bestseller" shades |
| Safety Standards | HEMA-free, TPO-free options available | Often contain sensitising ingredients |
| Removal | Designed for efficient soak-off | Can be difficult to remove cleanly |
Why Quality Matters for Your Business
Using professional-grade products isn't just about getting better results—it's about building a sustainable business:
- Client retention: Beautiful nails that last 3+ weeks bring clients back. Chipped nails after 5 days don't.
- Time efficiency: Products that apply smoothly and cure properly mean faster appointments and more clients per day.
- Fewer fixes: Quality products mean fewer free repairs and unhappy clients.
- Professional reputation: Your work speaks for itself. Professional products help you do your best work.
- Health and safety: HEMA-free products protect both you and your clients from developing allergies.
🎯 The Bottom Line
Professional nail products cost more upfront but deliver better results, happier clients, and a more profitable business. The price difference per manicure is pennies—the quality difference is everything.
Gel Polish: Everything You Need to Know
Gel polish (also called gel colour, shellac, or UV/LED polish) is the foundation of modern nail services. It's what most clients are asking for when they book a "gel manicure."
What is Gel Polish?
Gel polish is a hybrid product that combines the easy application of traditional nail polish with the durability of UV-cured gel systems. It's applied in thin layers and cured (hardened) under a UV or LED lamp.
Unlike traditional polish that air-dries through solvent evaporation, gel polish undergoes a chemical reaction called polymerisation when exposed to UV/LED light. This creates a hard, durable, chip-resistant finish that lasts 2-3 weeks or longer.
Key Characteristics of Professional Gel Polish
What to Look For in Quality Gel Polish
- High pigmentation: Full, even coverage in 2 coats maximum
- Self-levelling formula: Smooths out brush strokes automatically
- Proper viscosity: Not too thick (hard to apply) or thin (runs into cuticles)
- Good brush quality: Firm enough for control, soft enough for smooth application
- Complete cure: No tacky spots or soft patches after curing
- Easy soak-off: Removes cleanly in 10-15 minutes without excessive scraping
- HEMA-free formula: Safer for you and your clients
- TPO-free formula: Compliant with 2025/2026 regulations
The Gel Polish System: Base, Colour, Top
A proper gel polish application requires three components working together:
1. Base Coat
The base coat is the foundation of your gel manicure. It bonds to the natural nail plate and provides a surface for the colour to adhere to.
- Creates adhesion between natural nail and gel polish
- Prevents staining of the natural nail from pigmented colours
- Helps prevent lifting and peeling
- Should be applied in a thin, even layer
2. Colour (Gel Polish)
The colour coats provide the visible finish. Professional gel polish should achieve full coverage in 2 coats for most shades (some light colours or neons may need 3).
- Apply in thin, even layers—thick layers won't cure properly
- Cap the free edge to prevent tip wear
- Cure each layer fully before applying the next
3. Top Coat
The top coat seals and protects the colour while providing shine and durability.
- Glossy top coat: High-shine finish, most popular choice
- Matte top coat: Velvet, non-reflective finish
- No-wipe top coat: Cures without a tacky inhibition layer
Gel Polish Colour Categories Every Tech Needs
Building a well-rounded gel polish collection means having shades across these essential categories:
Explore Glosson Gel Polish
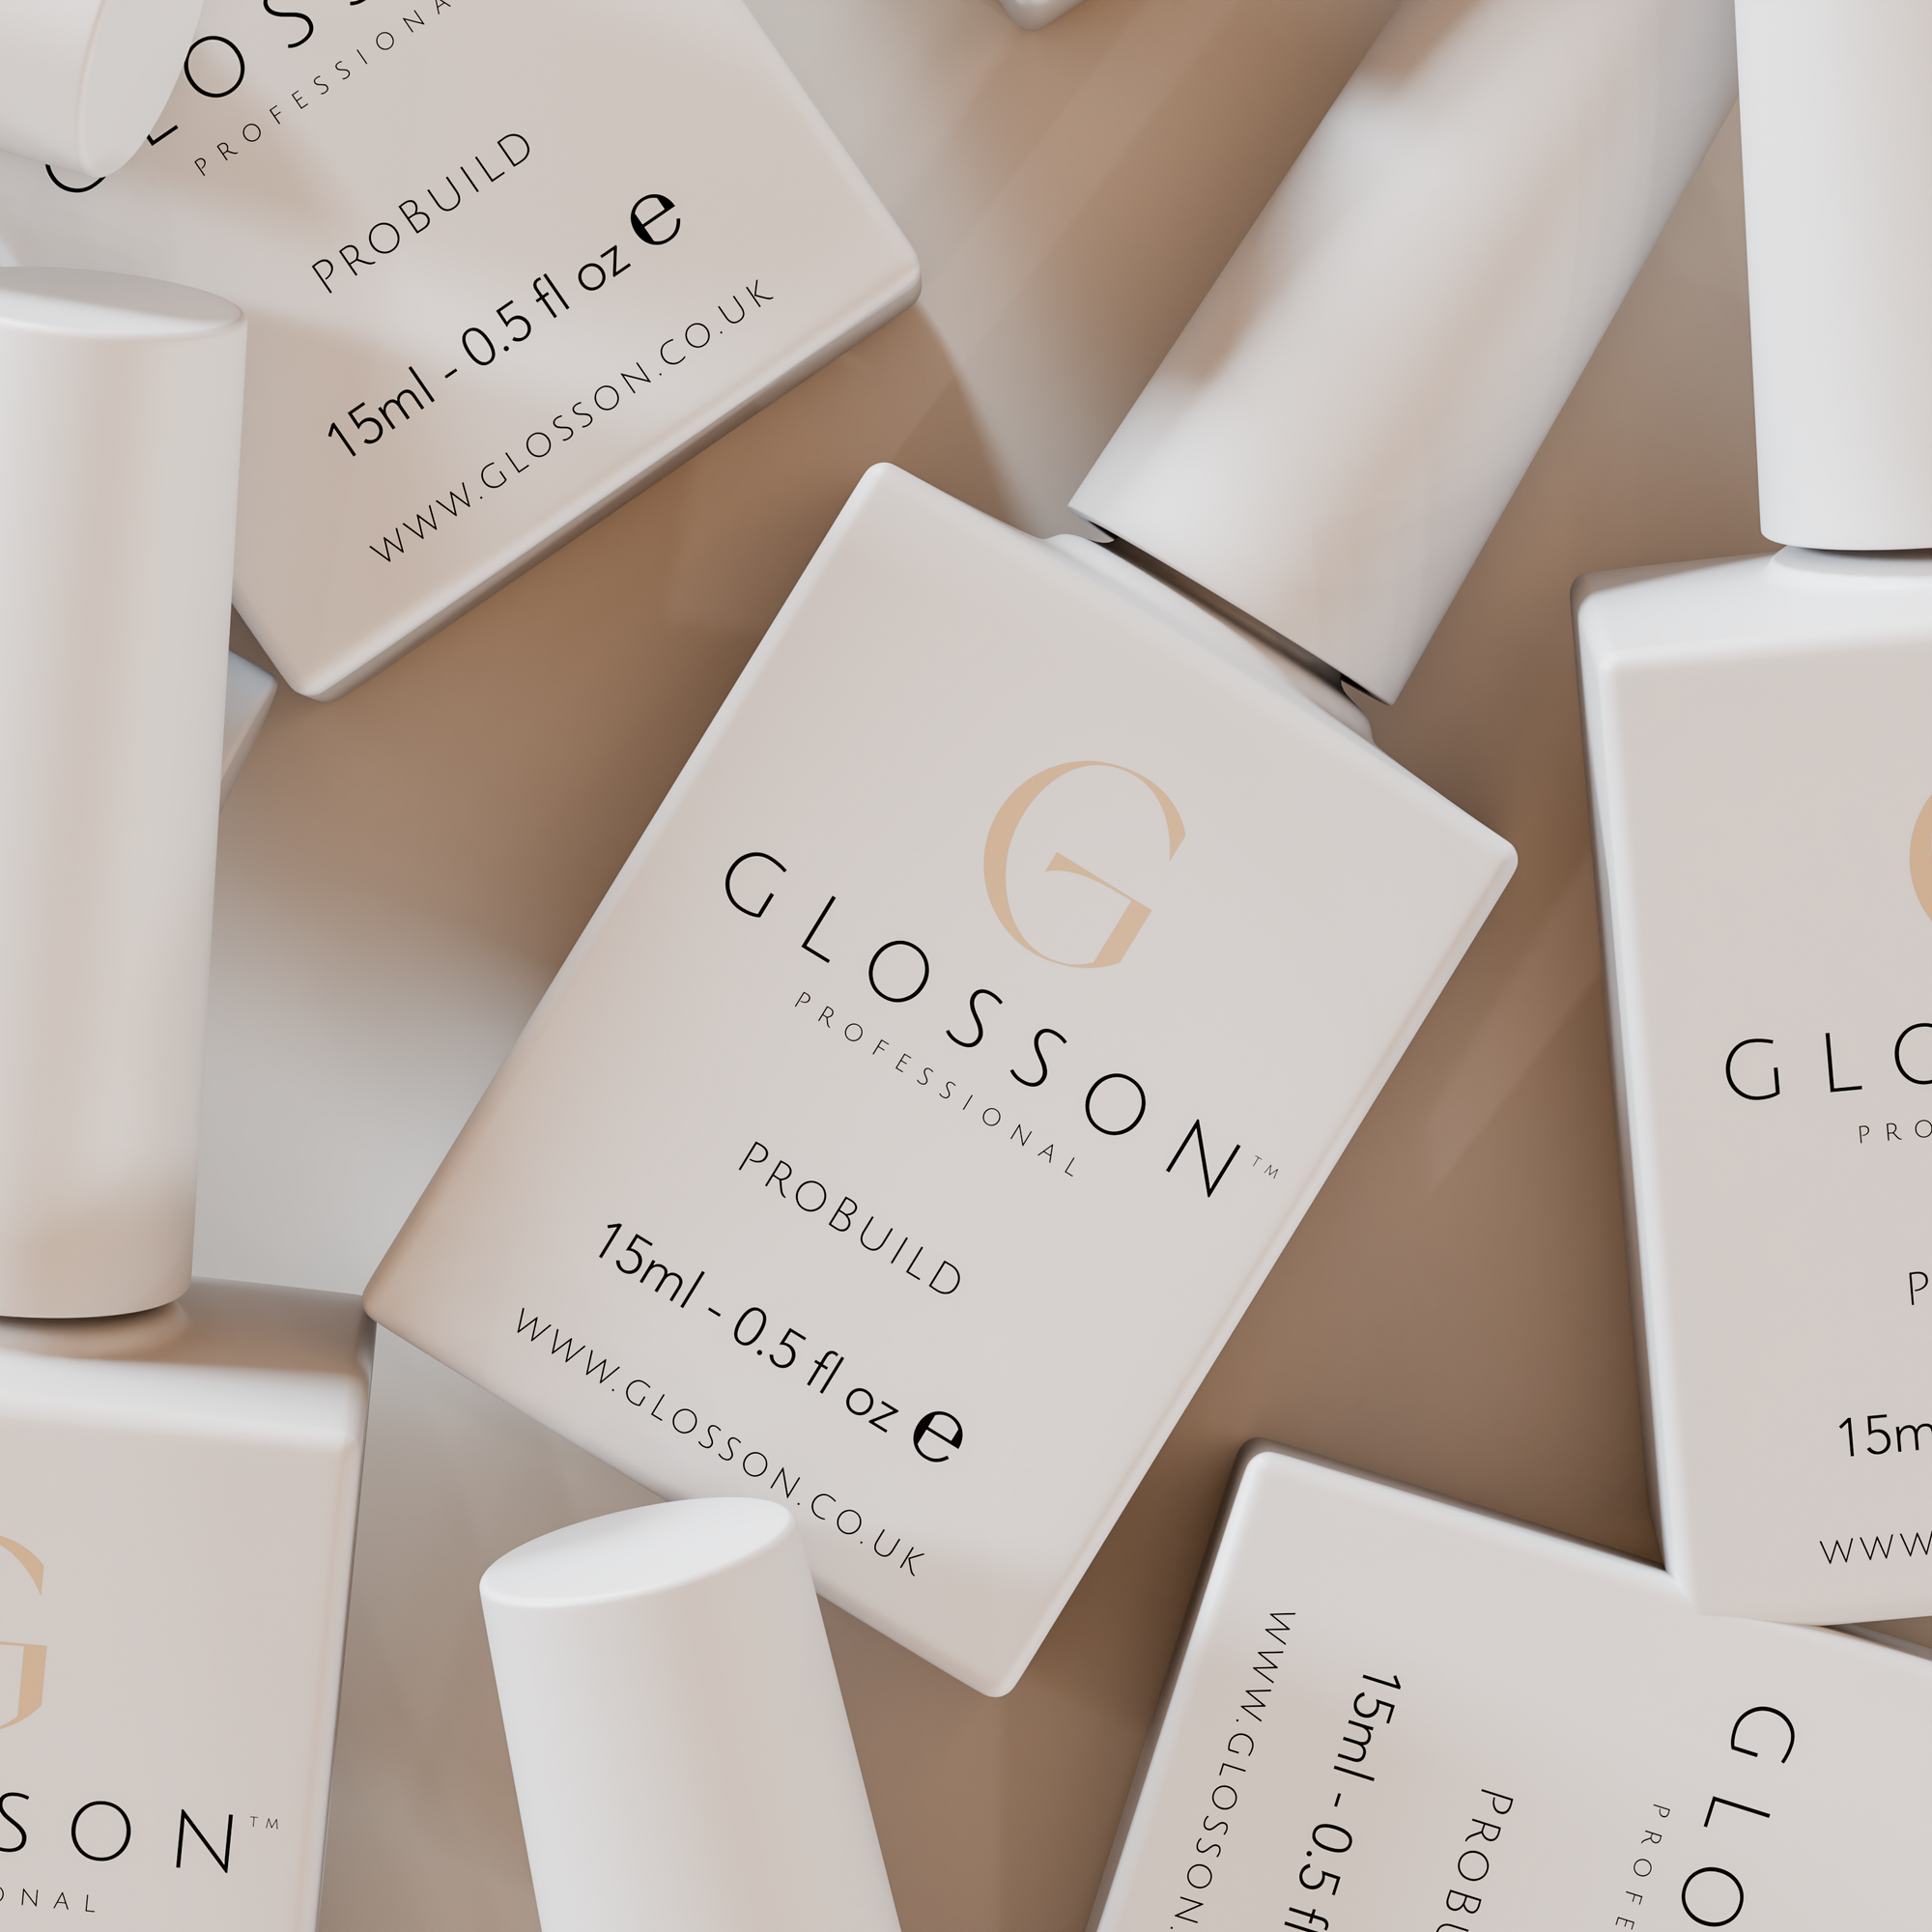
Our professional gel polish range is 100% HEMA-free and TPO-free, with high pigmentation, self-levelling formulas, and a colour range designed for UK nail technicians.
Shop Gel Polish →Builder Gel: The Complete Guide
Builder gel is a thicker, more viscous gel product used to add structure, length, and strength to nails. While gel polish is purely decorative, builder gel is a structural product that can transform the nail.
What is Builder Gel Used For?
Builder gel is one of the most versatile products in a nail technician's kit. Common uses include:
- Nail extensions: Building length using forms or tips
- Overlays: Adding strength and protection to natural nails
- Repairs: Fixing broken or damaged nails
- Apex building: Creating proper nail structure and strength
- Nail art: Creating 3D designs and encapsulated art
- Thin/weak nail reinforcement: Supporting nails that can't hold gel polish alone
Builder Gel vs Hard Gel vs Acrylic
| Feature | Builder Gel | Hard Gel | Acrylic |
|---|---|---|---|
| Application | Brush from pot/bottle | Brush from pot | Brush with liquid/powder |
| Curing | UV/LED lamp | UV/LED lamp | Air-dry (chemical reaction) |
| Removal | Soak-off (most types) | File off only | Soak-off |
| Flexibility | Moderate—moves with nail | Rigid | Rigid |
| Strength | Medium-high | Very high | Very high |
| Learning Curve | Moderate | Moderate | Steep |
| Odour | Minimal | Minimal | Strong |
| Best For | Extensions, overlays, repairs | Very long extensions | Very long, dramatic nails |
Types of Builder Gel
By Consistency
- Self-levelling builder gel: Flows and smooths on its own—great for beginners and overlays
- Sculpting/thick builder gel: Holds its shape for building apex and extensions
- Builder gel in a bottle (BIAB): Thinner formula applied like polish—good for overlays
By Colour
- Clear: Transparent—ideal for overlays, repairs, and as a base for gel polish
- Cover pink/nude: Sheer, natural-looking coverage—popular for "Russian manicure" style
- Milky white: Soft, opaque white—French manicure base
- Camouflage shades: Various nude/beige tones to match skin tones
Essential Builder Gel Colours to Stock
- Clear: Your workhorse for overlays and repairs
- Cover pink: Natural enhancement, very popular
- Nude/beige: Camouflage for natural-looking extensions
- Milky white: French applications
Builder Gel Application Tips
-
Prep is everything
Proper nail preparation is 80% of a successful builder gel application. Push cuticles, remove the shine from the natural nail, and cleanse with a dehydrator. -
Use thin layers
Build up structure gradually with multiple thin layers rather than one thick layer. Thick layers don't cure properly and can cause heat spikes. -
Build the apex
The apex (highest point of the nail) should be at the stress point—roughly where the natural nail meets the free edge. This provides strength. -
Cap the free edge
Seal the tip of the nail to prevent lifting and chipping. -
File and shape after curing
Builder gel is designed to be filed into shape. Don't worry about perfection during application—refine the shape afterwards.
Gel Polish vs Builder Gel: When to Use Each
One of the most common questions from new nail technicians is: "When should I use gel polish and when should I use builder gel?" Here's a clear breakdown.
Use Gel Polish When:
- Client wants colour on healthy, strong natural nails
- No length extension is needed
- Nails don't need structural reinforcement
- Client wants a thin, natural-feeling manicure
- Quick service is the priority (gel polish is faster to apply)
Use Builder Gel When:
- Client wants added length
- Natural nails are thin, weak, or damaged
- Client has a broken nail that needs repair
- Extra strength and durability is needed
- Client wants a "structured" or Russian manicure look
- Creating nail art that needs a solid base
Combining Builder Gel and Gel Polish
For many services, you'll use both products together. This is often the best approach for clients who want strength AND colour options:
- Prep the natural nail
- Apply base coat and cure
- Apply builder gel for structure (1-2 layers, curing between)
- File and shape the builder gel
- Apply gel polish colour (2 coats, curing between)
- Apply top coat and cure
- Cleanse and add cuticle oil
This gives you the structural benefits of builder gel with the colour versatility of gel polish. The client can change their colour at infill appointments without removing all the builder gel.
| Feature | Gel Polish | Builder Gel |
|---|---|---|
| Primary Purpose | Colour and shine | Structure and strength |
| Thickness | Thin (similar to polish) | Thick (can be sculpted) |
| Can Add Length? | No | Yes |
| Can Repair Nails? | No | Yes |
| Adds Strength? | Minimal | Significant |
| Colour Options | Hundreds of shades | Limited (clear, pink, nude, white) |
| Application Time | 30-45 minutes | 45-75 minutes |
| Removal | Soak-off (10-15 mins) | Soak-off or file (15-20 mins) |
| Skill Level | Beginner-friendly | Moderate |
Why HEMA-Free Products Matter
If you've been researching professional nail products, you've probably seen "HEMA-free" mentioned repeatedly. But what is HEMA, and why should you care?
What is HEMA?
HEMA (2-Hydroxyethyl methacrylate) is a small molecule monomer traditionally used in gel nail products. It helps with adhesion and creates a strong bond to the nail plate.
The problem? HEMA is a known contact sensitiser. With repeated exposure, both nail technicians and clients can develop allergic reactions.
HEMA Allergy: The Growing Problem
HEMA allergies have been increasing dramatically as gel manicures have become more popular. Studies suggest:
- Up to 2% of the general population may be sensitised to HEMA
- Once sensitised, reactions occur with every future exposure
- Nail technicians face higher risk due to daily, repeated exposure
- Reactions can range from mild irritation to severe dermatitis
- Some people develop reactions to other acrylates after HEMA sensitisation
- Itching or burning around the nail area
- Red, swollen skin near cuticles
- Dry, cracked skin on fingers
- Nail lifting or onycholysis
- Rash on hands, face, or neck (can spread beyond contact area)
Why Choose HEMA-Free?
-
Protect Your Career
If you develop a HEMA allergy, you may not be able to work with standard gel products ever again. Using HEMA-free products from the start protects your long-term career. -
Protect Your Clients
Offering HEMA-free products means clients with sensitivities can still enjoy gel manicures. It's also a selling point for health-conscious clients. -
Future-Proof Your Business
Regulations are tightening. The EU has already restricted HEMA in consumer products, and professional restrictions may follow. Being HEMA-free now means you're ready. -
No Compromise on Quality
Modern HEMA-free formulations perform just as well as traditional products. You're not sacrificing anything by making the switch.
🎯 Glosson's Commitment
All Glosson products are 100% HEMA-free AND TPO-free. We believe professional nail products should be safe for daily use without compromising on performance.
How to Choose Quality Professional Nail Products
With hundreds of nail product brands on the market, how do you identify the ones worth your investment? Here's what to look for.
Quality Indicators for Gel Polish
- Pigmentation: Should achieve full coverage in 2 coats (3 max for light colours)
- Consistency: Self-levelling but not runny; shouldn't flood cuticles
- Brush quality: Firm, precise brush that holds its shape
- Cure time: 30-60 seconds under LED, no tacky patches
- Wear time: 3+ weeks without chipping or lifting
- Soak-off time: Clean removal in 10-15 minutes
- Ingredient transparency: Clear INCI labelling, HEMA-free and TPO-free
Quality Indicators for Builder Gel
- Consistency options: Both self-levelling and sculpting viscosities available
- Workable open time: Doesn't set or harden before you're ready
- No heat spikes: Cures without uncomfortable burning sensation
- Strength: Doesn't crack or break with normal wear
- Clarity: Clear builder gel should be truly clear, not yellow or cloudy
- Adhesion: Bonds properly to natural nail and base coat
- File-ability: Files smoothly without gumming up
Red Flags to Avoid
- No ingredient list or vague labelling
- Extremely cheap prices (quality ingredients cost money)
- No information about HEMA or TPO content
- Poor reviews mentioning lifting, allergic reactions, or inconsistent quality
- No professional support or education available
- Unfamiliar brand with no UK presence or customer service
Questions to Ask Before Buying
- Is this product HEMA-free and TPO-free?
- What's the expected wear time?
- Are sample sizes or trial kits available?
- What's the return policy if I'm not satisfied?
- Is customer support available if I have questions?
- Are there application guides or training resources?
Building Your Starter Inventory
Whether you're setting up a new nail business or restocking your supplies, here's a practical guide to building your professional nail product inventory.
Essential Products Every Nail Tech Needs
The Absolute Basics
| Product | Quantity | Notes |
|---|---|---|
| Base Coat | 2 bottles | Always have a backup |
| Top Coat (Glossy) | 2 bottles | Your most-used product |
| Top Coat (Matte) | 1 bottle | Popular finishing option |
| Nail Dehydrator | 1 bottle | Essential for prep |
| Nail Primer | 1 bottle | Improves adhesion |
Gel Polish Starter Collection (25-30 Colours)
| Category | Quantity | Suggested Shades |
|---|---|---|
| Nudes & Pinks | 6-8 shades | Light nude, medium nude, dark nude, baby pink, dusty pink, mauve |
| Reds | 3-4 shades | Classic red, berry red, orange-red, deep burgundy |
| Neutrals | 3-4 shades | Pure white, soft white, jet black, chocolate brown |
| French | 1-2 shades | French white, sheer pink |
| Trending | 4-6 shades | Current season colours (check trend forecasts) |
| Glitters & Effects | 4-6 shades | Silver glitter, gold glitter, rose gold, holographic |
Builder Gel Essentials (4-6 Shades)
| Shade | Quantity | Primary Use |
|---|---|---|
| Clear | 2 pots/bottles | Overlays, repairs, base for colour |
| Cover Pink | 1 pot/bottle | Natural-looking enhancement |
| Nude/Beige | 1 pot/bottle | Camouflage, skin-tone matching |
| Milky White | 1 pot/bottle | French manicures |
Estimated Starter Investment
| Category | Estimated Cost |
|---|---|
| Essentials (base, tops, prep) | £60-80 |
| Gel polish (25-30 colours) | £250-350 |
| Builder gels (4-6 shades) | £60-100 |
| Total | £370-530 |
Start with Glosson's curated bundles to get started at a better price than buying individual bottles. You can expand your collection as you learn what your clients request most.
Application Tips for Best Results
Even the best professional nail products won't perform well if applied incorrectly. Here are expert tips for getting the most from your gel polish and builder gel.
Prep Tips (The Foundation of Everything)
- Push, don't cut: Push back cuticles gently; only remove true cuticle (dead skin on the nail plate), not the living eponychium
- Remove the shine: Lightly buff the natural nail to remove the shiny surface layer—this helps products adhere
- Dehydrate properly: Use a nail dehydrator and let it evaporate fully before applying product
- Avoid touching: After dehydrating, don't touch the nail plate—oils from your fingers reduce adhesion
- Check for lifting: If there's any old product lifting, remove it completely before reapplication
Gel Polish Application Tips
- Thin layers only: Two thin coats cure better than one thick coat
- Cap the free edge: Run the brush along the tip to seal the edge and prevent chipping
- Stay off the skin: Gel on skin = lifting. Clean up any flooding before curing
- Full cure: Don't rush curing times. Under-cured gel causes sensitivity and soft spots
- Avoid the cuticle: Leave a tiny gap between product and cuticle to prevent lifting
Builder Gel Application Tips
- Work one nail at a time: Builder gel can move before curing; complete and cure each nail individually
- Build the apex: Structure means strength. Create a slight apex at the stress area
- Flash cure if needed: If gel is moving too much, flash cure for 10 seconds to set it, then continue
- File after curing: Don't stress about perfection during application—file to refine
- Watch for heat spikes: If the client feels heat, have them remove their hand briefly, then continue curing
Removal Tips
- File the top coat first: Breaking the seal helps acetone penetrate
- Use foil wraps or clips: Keeping cotton saturated against the nail speeds up removal
- Be patient: Let products soak fully rather than scraping at half-removed gel
- Hydrate after: Acetone is drying; always finish with cuticle oil
Common Mistakes to Avoid
Even experienced nail technicians make these errors. Avoid these pitfalls to improve your results and client satisfaction.
Prep Mistakes
- Skipping dehydration: Oils on the nail plate = guaranteed lifting
- Over-filing: Thinning the nail plate weakens adhesion and hurts clients
- Cutting live tissue: Cutting the eponychium (live skin) causes bleeding and infection risk
- Rushing prep: Thorough prep takes time but prevents callbacks and free fixes
Application Mistakes
- Thick layers: Thick gel doesn't cure properly and causes heat spikes
- Touching cuticles: Product on skin will lift within days
- Not capping edges: Unsealed free edges chip and peel
- Under-curing: Causes sensitivity, soft spots, and allergic reactions
- Flooding: Gel running into cuticle area will lift and potentially cause reactions
Business Mistakes
- Buying cheap products: Low-quality products cost more in the long run (repairs, unhappy clients, damage to your reputation)
- Ignoring HEMA-free options: Risking your health and your clients' health isn't worth it
- No patch testing: Always offer patch tests for new clients
- Inconsistent products: Using multiple brands makes troubleshooting difficult
Frequently Asked Questions
What is the difference between gel polish and builder gel?
Gel polish is a thin, flexible coating applied in 2-3 layers for colour and shine, lasting 2-3 weeks. Builder gel is a thicker, structural product used to add length, strength, or repair damaged nails. Most nail technicians use both products for different purposes.
What makes professional nail products different from retail products?
Professional products have higher pigment concentration, superior adhesion, longer wear time (3+ weeks vs 1-2 weeks), and are formulated for trained application. They contain higher quality photoinitiators for proper curing and often exclude sensitising ingredients like HEMA.
What is HEMA and why should I choose HEMA-free gel polish?
HEMA (2-Hydroxyethyl methacrylate) is a monomer used in many gel products that can cause contact allergies with repeated exposure. HEMA-free gel polish reduces the risk of allergic reactions for both nail technicians and clients.
How many gel polish colours do I need to start a nail business?
Most nail technicians recommend starting with 20-30 colours covering essential categories: nudes and pinks (6-8 shades), reds (3-4 shades), classic colours (3-4), seasonal trending colours (4-6), and glitters or special effects (4-6).
What builder gel colours should I stock?
Essential builder gel colours include: clear (for overlays and repairs), soft pink or cover pink (natural enhancement), nude or beige (camouflage), and milky white (French applications). Start with 3-4 shades and expand based on your service menu.
Can I use gel polish over builder gel?
Yes! This is a very common technique. Apply builder gel for structure, cure and file it, then apply gel polish over the top for colour. This gives you strength from the builder gel plus colour versatility from gel polish.
How long should professional gel polish last?
Quality professional gel polish should last 3-4 weeks without chipping or lifting when applied correctly. If you're seeing wear before 2 weeks, check your prep technique or product quality.
Where can I buy professional nail products in the UK?
Glosson offers a complete range of professional-grade, HEMA-free and TPO-free products including gel polish, builder gels, and base and top coats. All products are designed for professional nail technicians with fast UK shipping.
Ready to Stock Your Salon with Professional Products?
Explore Glosson's complete range of HEMA-free, TPO-free professional nail products. Gel polish, builder gels, and everything you need for beautiful, long-lasting results.
Shop All Products →Start with our curated bundles to try our professional-grade formulations at a great price. All products are 100% HEMA-free and TPO-free—safe for you and your clients.